Pages

Sunday, August 26, 2018

sidewalk mosaic

My daughter gave me these discontinued backs plash tiles from her boyfriends mother. (she works in a tile store) She said "sure I'll take them for my mom.  I'm sure she can do something with them."  I put them in my studio and there they sat.

Going through my Pintrest feed one morning with my cup of Golden Monkey tea (which i can't get anymore since Teavana closed) I see a post about broken china mosaic in sidewalk cracks. I have sidewalk cracks! 

That looks so cool...I can do that!  I begin my research.  What do I use as the base?  Do I get mortar?  concrete?  Do I need to grout it after?  If I do , should I seal the grout?  I wonder how it will hold up.  You get the picture.  Let me tell you...there's not a whole lot of answers out there.  Lots if pictures, but not a lot of how  to's. 

But I did find this post here that was most helpful.  Now for the broken china part. As I planned my trip to the thrift store thinking...what color scheme should i go with?  I'll use a pillow case to break the plates... A light went off in my head...I have those tiles my daughter gave me!!!  This is perfect!

Now they came on cardboard, attached with glue. One night while watching TV I pried them all off those boards and put them in a ziplock bag.  Off to home depot to get the cement here .I got the larger one since I had large cracks.  And I went to Michael's to buy a jar of those flat marbles to fill in.

I prepared my cracks by digging out some of the dirt (after pulling weeds) and sweeping away the loose dirt around the crack. I put my tiles in a container so all the colors are organized and face up so I can see them

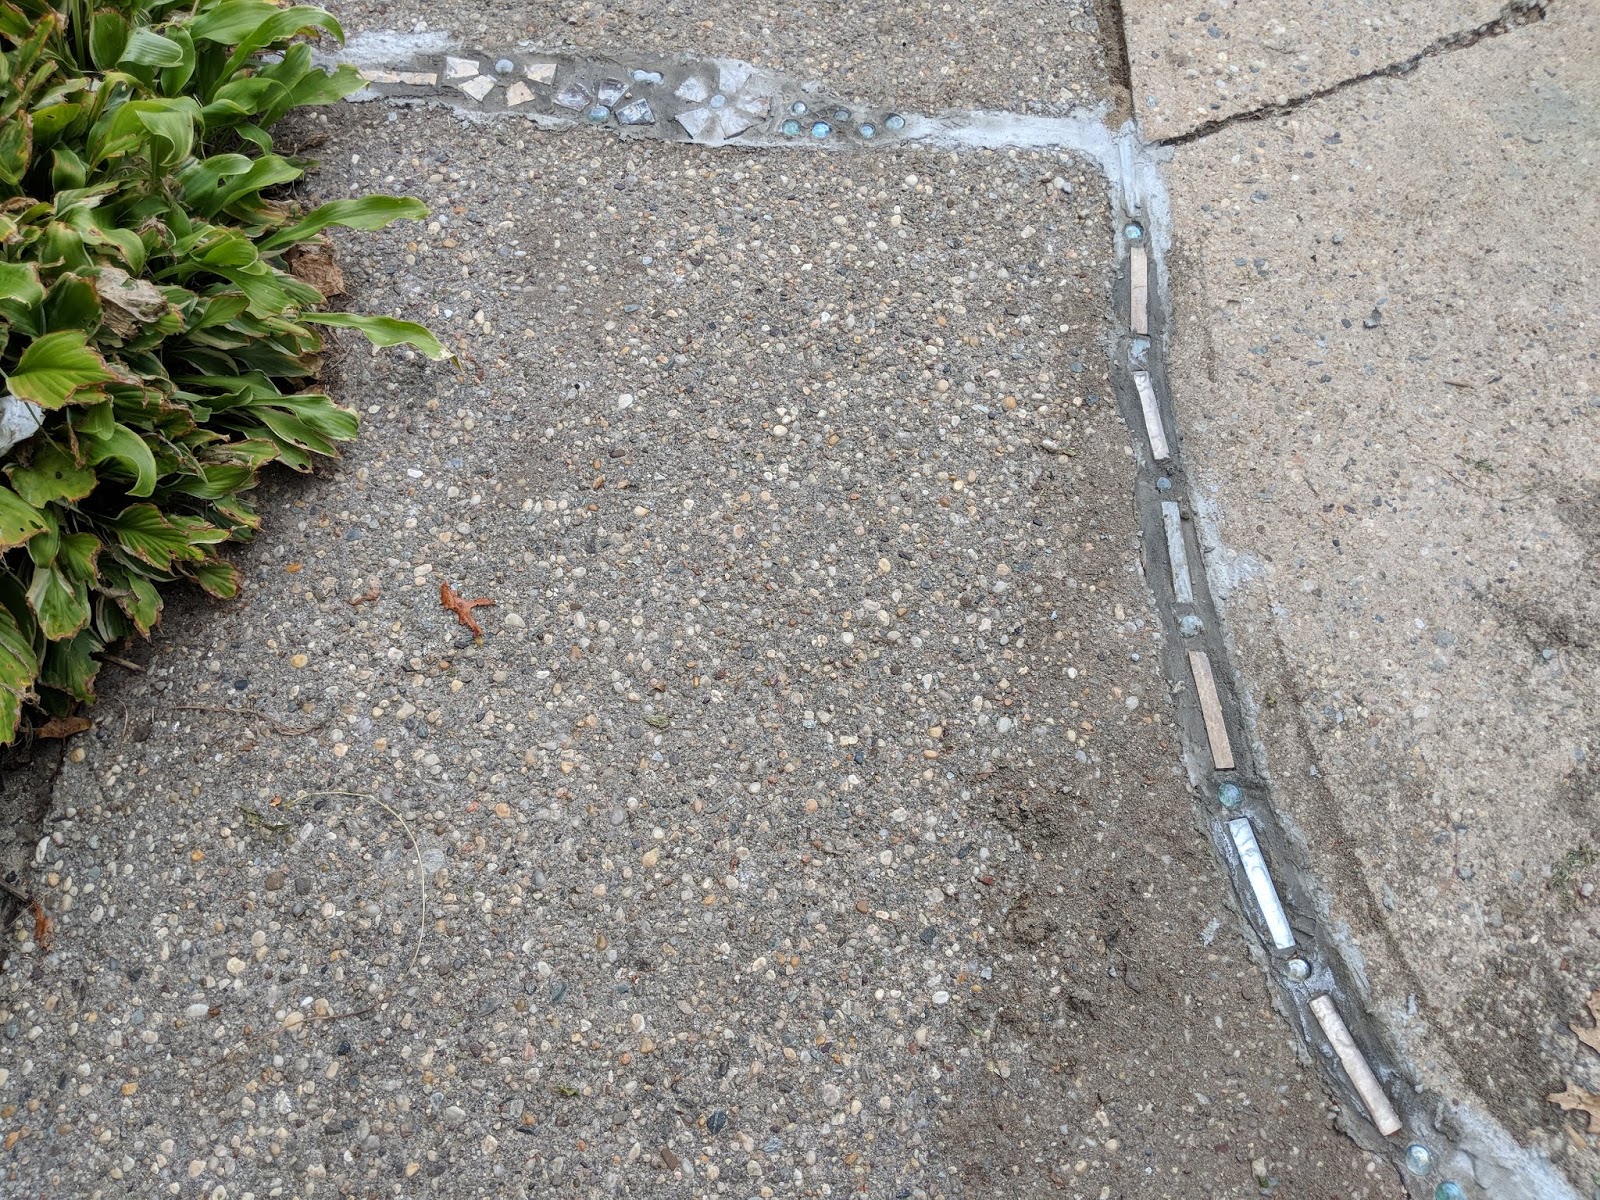
 I put my tiles in dry to get a feel of how they would sit and see how much room i had.
 Then I was off and running!  


This is wet.


This was a fairly easy project I thought.  Although there is a learning curve.  The cement dries pretty fast. So you have to work in small batches and fairly quick.  The cement does not go as far as you think.  Don't make your cracks too deep.  I had a LOT of cracks and some were pretty big.  I went through 2 1/2 of the larger buckets of cement.  After it dried, I went out there with a toothbrush to scrub off any cement on the tiles.  I'm pretty happy with the way it turned out


I hope this inspires you!

Tuesday, April 5, 2016


I had this plain wooden clock for such a long time.  It was something my father had bought and really didn't like it.   I kept it around for sentimental reasons.  I put it in the basement because i just couldn't get rid of it.

    Then...I had this idea that i should cannibalize the clock for its inner workings!  I had been a fan of Finnabair's art for a long time and thought this was such a great way to have some real gears to work with.

    Now i had a hollow clock that didn't work...it sat around in the basement for a while...making me feel guilty every time i did laundry...sigh.  Now its a beautiful piece of art that sits up stairs on my sofa table.

Saturday, April 2, 2016

Scrapbook.com is giving away a ton of sizzix products! Click Here to enter!

Wednesday, March 30, 2016


A picture from an olive oil shop, some texture paste, inks, scrap paper and gesso...a new journal page was born!  I love trying different things in my art journals!

Thursday, March 3, 2016


A little texture on an art journal layout.  I love texture on a page or canvas.  Add some paper or gesso for a little or spread texture paste through a stencil.  This was dont by adding microbeads into tecture paste through a circle stencil.  I also added some picment in the mix for some color then used lindy stamp gang spray over it.  I love the way it came out.  Don't you?

Monday, February 29, 2016


A little project I did around a small compact mirror I had for ages.  The picture on the back was of my mother as a child.  I loved this little mirror but didn't know how to display it so it sat in a drawer...unseen and unappreciated.  Now it's on display in my living room...seen every day!

Friday, October 5, 2012